Personalize the color, style, size, and end-cap of a line for your drawing.
This video provides a step-by-step guide on how to edit the shape stencils available in your Play Editor.
How to Customize Lines and Properties
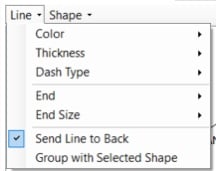
To begin customizing a line, click on the Line button located beneath the Library window. This action will reveal a variety of options for line customization:
Options for Customizing Line Attributes
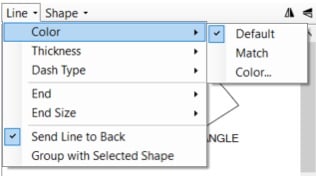
Customize the Color

Customize the Thickness

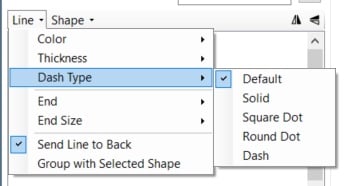
Customize the Dash Type

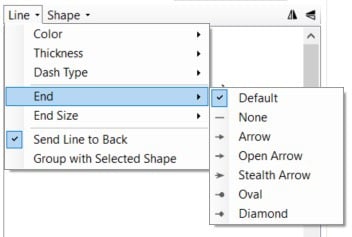
Customize the End Cap

Send lines to the back of drawings

Group a line with the selected drawing
How to Rename Your Shapes
- Identify the shape you want to rename, then right-click on it and choose the Edit option.
- Click on the Shape you want to rename > Click Arrange button, then access the Selection Pane.
- Once you have made your selection, rename the shape.
- After finalizing your edits, remember to save your changes and close the file to ensure your work is preserved.
- To update the view and showcase the renamed shape, right click on the shape file in the upper section of the Play Editor's shape window and select the Reload Library option.
